


Save the current project with the Save As command from the File menu. In the Save As dialog box, select the directory where you want to save the project file. Specify a name for the project data file, which by default has the spiral extension. The Save As dialog box for this tutorial project is illustrated in Figure 2.4. Press OK and the file for the current project will be saved to disk.
Some versions of the Windows operating environment will truncate the default spiral extension to the three letters spi, so we recommend that you explicitly add the spiral extension to the file name in the Save As dialog window when saving a project for the first time.
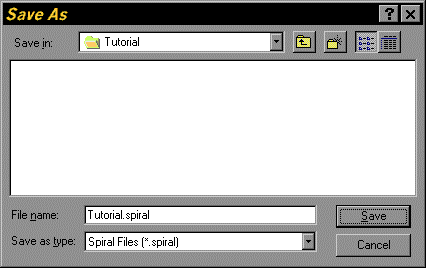
Figure 2.4. Save As Dialog Box for the Tutorial Project
The different views of the current project at this time are illustrated in Figure 2.5. Observe that the titles of the views have changed from New Project to Tutorial to indicate that this project has been saved.
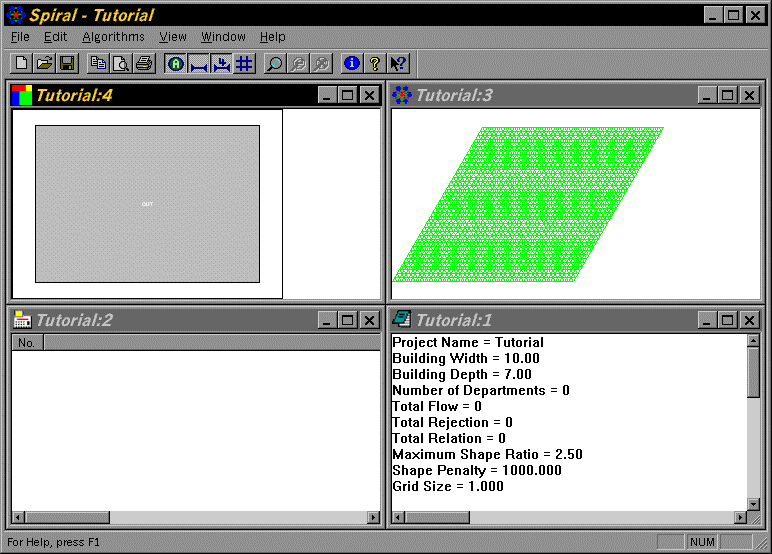
Figure 2.5. Initial Views for the Tutorial Project